


At last, this took about a month worth of delaying. Hey i'm still new, so cut me some slack aye =)
More after the jump.
Full flow of pics.


As you can see i'm running out of action poses in my mind. Really a bad idea to do a mini shoot in the morning when you just wake up =(


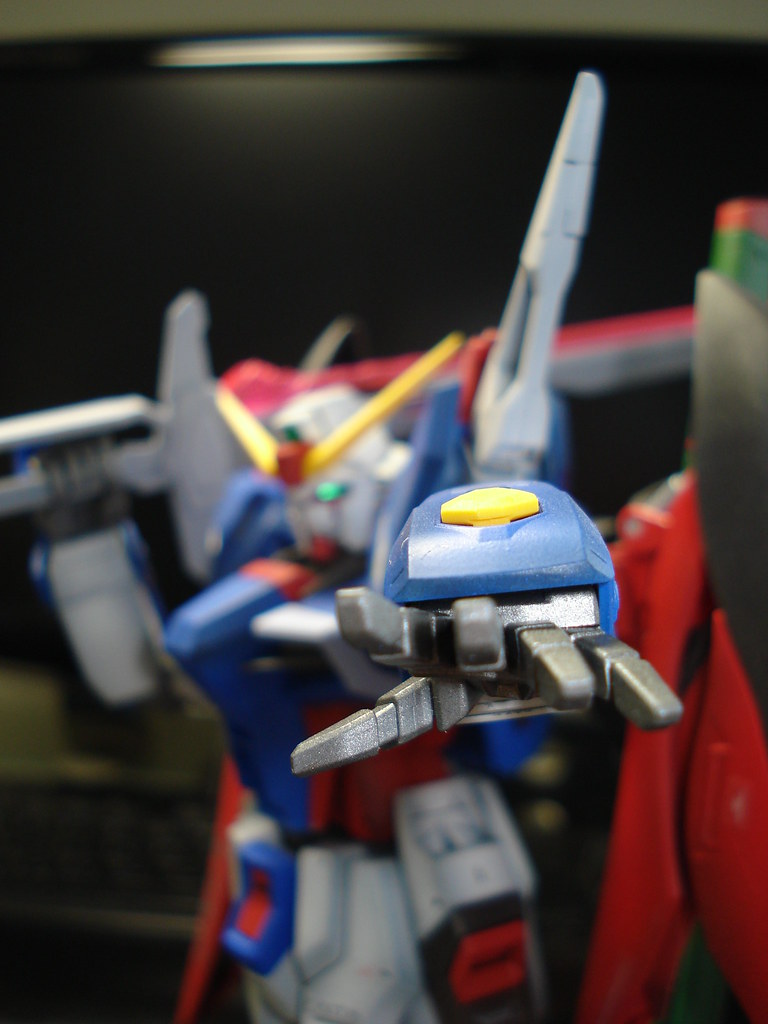
Really love the Wings of Light backpack. Coolest one so far other than the ones on MG Wing Endless Waltz Version. Over all Destiny was a good practice, the only decent kit I've made so far =)


Mistakes were
Bad shading on blue/red parts
Need to try a different technique next time.
Paint ratio still sucked, blue parts paint were too thick.
Gloss coat was too weak, still need to get accustomed to Tamiya X22 clear.
Max technique becomes darker after curing the paint for a day or 2.
Paint color will be lighter after airbrushing.
Do you like this article? Share It!


1 comments to "Completed - MG Destiny. Almost Satisfied."
About This Blog


YJ says:
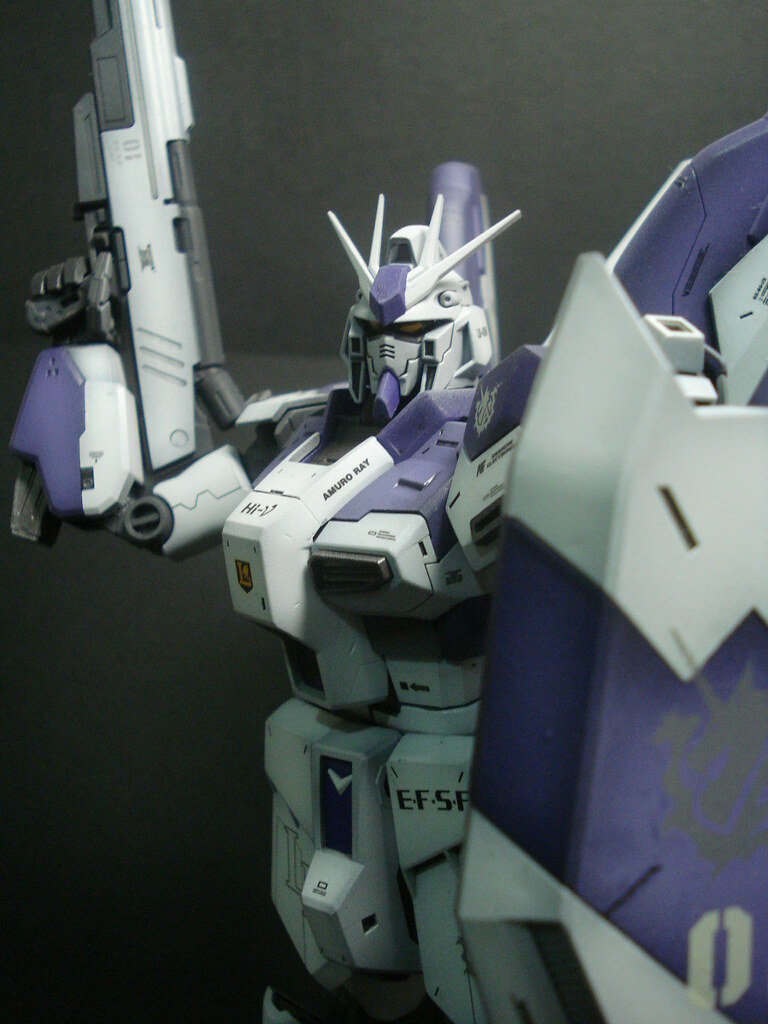
Yeah it would work. Keep in mind that if your base coat is too dark, it will give a darker overall look to the final coat. If you want a bright blue as the final product, I don't recommend starting too dark, as it takes ages and heaps of coats to get it to the right brightness.
I built an MG Gato's Gelgoog once, and I used black as a base coat for blue. It took about 8 hours of shading in order to get the blue to a brightness I liked.