Showing posts with label Work In Progress. Show all posts
Showing posts with label Work In Progress. Show all posts

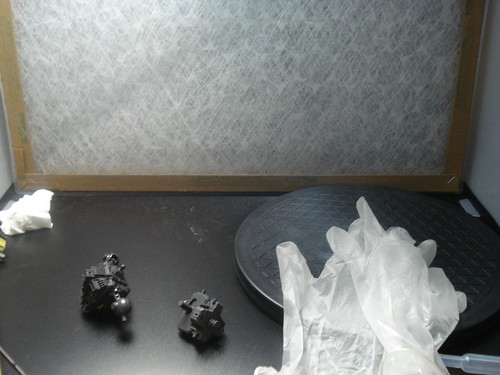
So.... I decided to revert back to my old method .


Alright so I've completed Crossbone Ver.Ka at last. This is actually a very disappointing kit to me. There are actually many limitations to this kit and the color reproduction is actually quite poor, thus the limited amount of parts. Gonna take me alot of masking to achieve the colors I sought after.
Seeing the unpainted product, I expect to have loads of problem painting the weapons. The dark blue parts I intend to change it into a more sky/cobalt blue shade, but I'm worried if the kit would look kiddish overall. Hopefully not. (PS, good excuse to finish up my cobalt blue paint)
Hmm... work is screwing my bio clock badly, but still, it beats being in the office facing people I would rather not face ... heh
And yes I know that my posts are getting limited.. Well new job, new transitions and new toys makes it difficult to spend my time and energy on plamo.. Plus my camera still isn't with me... sigh i hate the camera quality of myy Blackberry Bold =(
Perhaps its time for a Blackberry 9700 =\

Had finish gloss coating it a couple of hours ago. Gonna have to wait another day before I matt coat it =D
More pics after the jump.

I decided to make the shading more subtle too, because the previous destiny got a little bit to dark. Overall this kit was alot cleaner, though I still had a few hiccups along the way. Worst part was me destroying the shin plates on the kit, and the overly thick coating of paint which caused a rough surface :(
Some airbrushing WIP, with shading. Final coating of white not yet applied.

Final coat of white applied.

Without decals


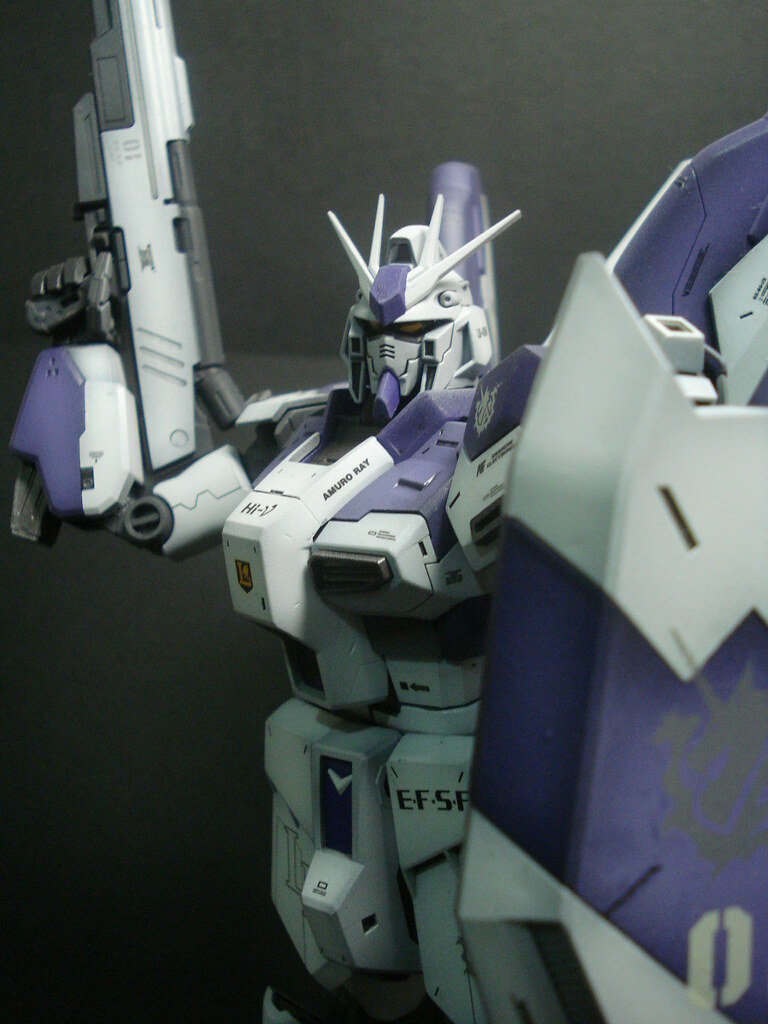
Love this Amuro Ray decal. Looks so cool!


Almost done with everything. Just need a final coat of gloss coat. Another day for it to cure, and finally a matt coat =D So near, I can virtually smell it..


Will be back sometime in the week for the completed kit =D Plus action poses... Till then!

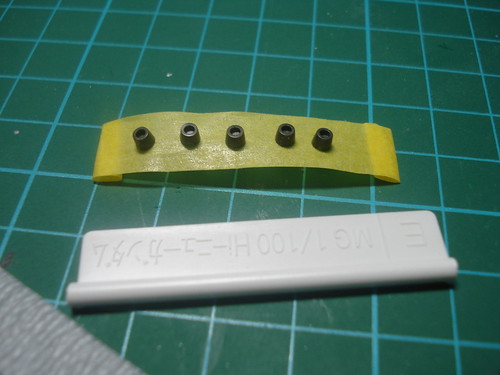
During the final stages of building, this is the 'fin'/'funnels' on the backpack, the connectors..
This is only 1/4 of it...
This is what i ended up with..

These parts are all too small, was thinking its gonna be a bitch to airbrush, so i came up with

This time I decided on a different workflow. Instead of priming everything, coloring everything than finally topcoating everything, I decided to go by parts.
Firstly I will start off with the internal frame and silver parts of the kit. So I would primed all these, than color, than topcoat these before moving off to the other parts of the kit. Was wondering if this method would serve me better....
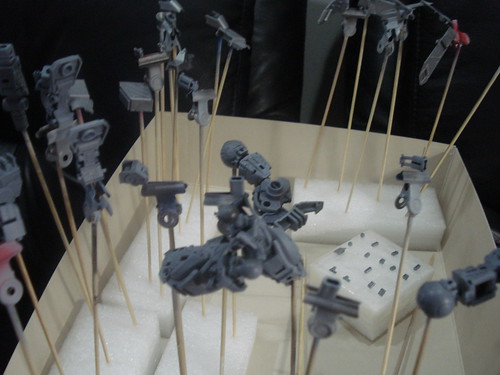
My first time airbrushing primer on instead of using aerosol cans. Save the environment perhaps. Best to minimize damage... I've always love primed kits.. so sexy =D
Sexy Filters.

Manage to get the Hi Nu Gundam for my next kit. Simplre colors, might mod the boosters if i actually have the time to go down to HAG.

Due to my lousy masking skills, i decide to actually color each individual parts, which i kinda regreted after seeing the amount of parts the chest piece consists off....
But hey, I've actually learned to take my time for making my kits so i suppose why not? Since I'm almost 100% sure i would achieve better results this way = D


Even though i love the Cobalt Blue from Mr.Hobby, I decided I should stay true to the color of the original version, so I just might go with purple. Good kit to test shading on my weaker areas (colored parts)


Started on the so called Max technique with afew of my own variations (mostly cause i'm a lazy arse)
Below is a small tutorial on the max technique which apparently began by a person named max when he started using it. Pics are credited to SaintYJ


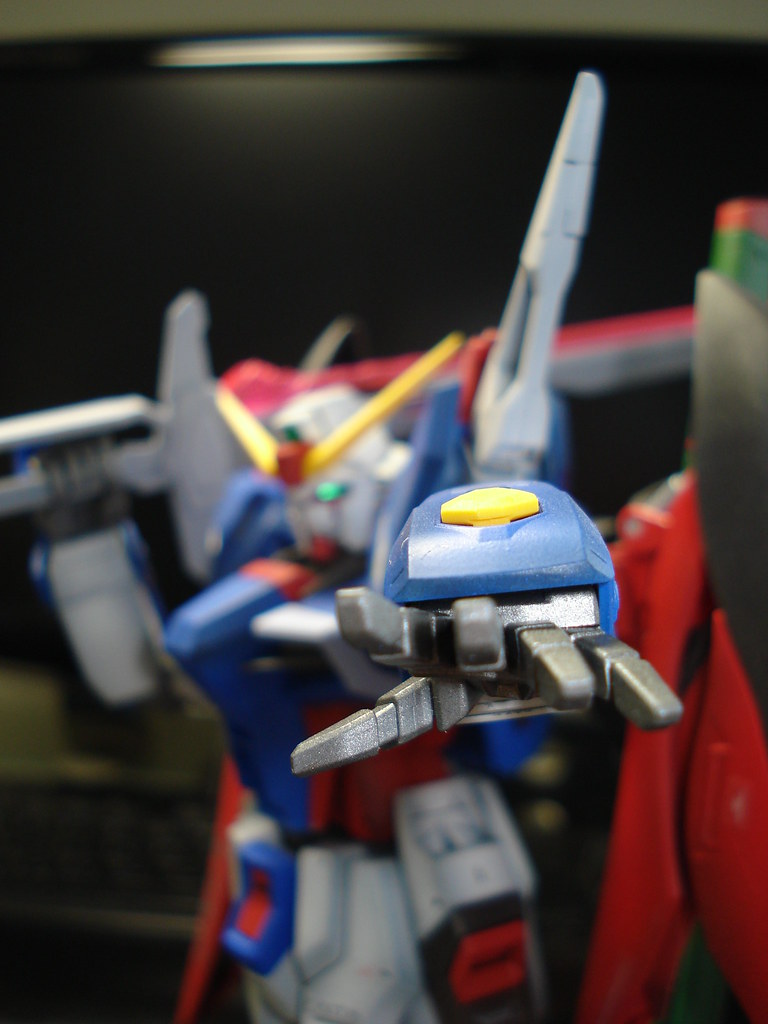
Some WIP pics on MG Destiny. Got it done in about 5 - 6 hours on Sunday :(


This is the part which i screwed up. Being too eager (lol as always) I over coated the paint, causing it to be too thick and than cracking up :( Looks like i have to remove the paint and redo this few pieces all over again.


PS : Still using my blackberry without MACRO :( Sigh i'm so in need of a cam right now....

Everything well pretty well till the last part. Namely the Wings of Light backpack and the stand. Dilemma with the backpack was i couldn't decide if i should seal the seamlines first or paint it first. All due to the fact that i wanted to add some minor details into it...
Started painting a couple of days back. Just finish the whites.. Grrr it was a complete nightmare. Loved the subtle shading but encounter a few problems towards the end. :(
Kits Primed

Some light shading. ( T_T bout the lousy camera....)


Problems with white.. AGAIN... /tear hair out


Sigh, gonna need plenty of help here :(
About This Blog